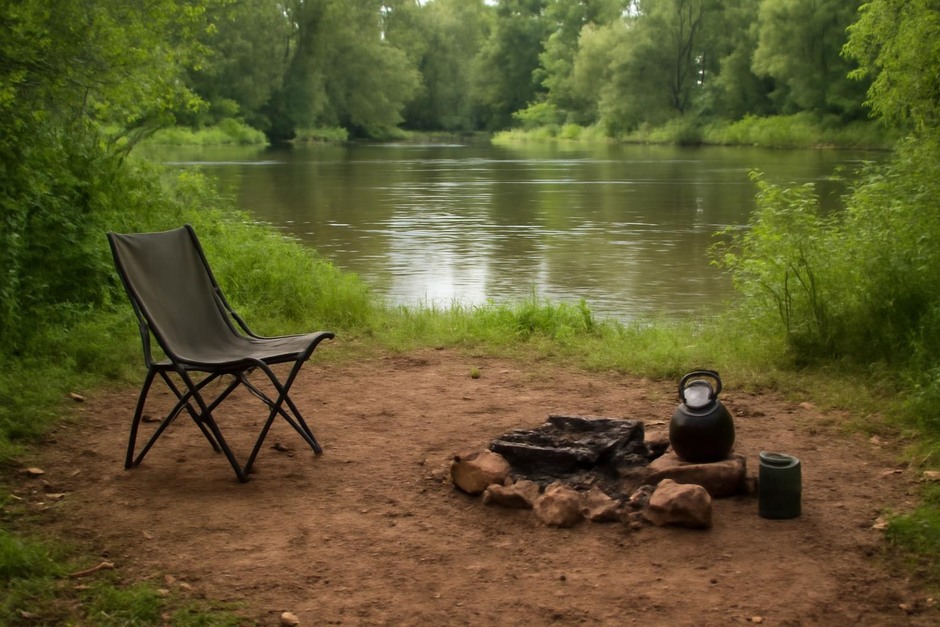
Micro-campsites are the small, intentionally arranged outdoor stops you return to on a walk, use for an afternoon break, or occupy for a single night. The point is comfort with minimal fuss. This 15-minute method organizes the most important decisions—safety, comfort, utility—so your stop feels deliberate rather than improvised. Each step has a short example to show how principle becomes practice.
Step-by-step method (15 minutes)
-
Scan from a distance (2 minutes).
Stand where you first notice the potential site and look for obvious hazards (dead branches overhead, steep slopes, pooled water) and conveniences (flat clear ground, nearby windbreaks, shade). Principle: choose a place with minimal natural risks and a clear approach. Example: from the trail you spot a flat patch beneath a young stand of pines that’s downhill from a clifftop—safe because it’s not under old snags and it’s sheltered from the wind.
-
Confirm drainage and ground firmness (3 minutes).
Test the surface by pressing a hiking pole or boot into the soil. Does it spring back or stay soft? Look for gentle slopes that shed water away from sleeping or sitting spots. Principle: avoid low, spongey depressions that collect moisture. Example: a meadow with firm mat of grasses shows good drainage; a hollow near a stream feels springy—move upslope a few meters.
-
Place functional zones (5 minutes).
Mentally divide the site into three simple zones: living (sleep, chair), cooking, and gear/entrance. Arrange them so cooking is downwind from sleeping, and the entrance faces the easiest approach. Principle: small separations increase comfort and reduce cross-interference. Example: set your chair on a flat pad near a stump, locate the stove on the lee side of a boulder, and keep packs by the trail edge for quick exit.
-
Refine the surface (3 minutes).
Clear small debris from the sleeping or sitting area: pine cones, rocks, sharp sticks. Use a tarp, pad, or even a folded groundsheet to create an even surface. Principle: an intentional floor transforms a rough spot into a pleasant one. Example: flip a small flat rock under a stove to level it; sweep away gravel and set a foam pad for a nap.
-
Set a simple comfort cue (2 minutes).
Add one deliberate comfort item to signal the site is ready—an unfolded blanket, a hung scarf as a wind flag, or a cup warming near the stove. Principle: a single human touch makes a place welcoming and signals the site’s purpose. Example: hang a bandana from a low branch; it blocks sun and marks the spot from a distance.
Variations
Short day stop (picnic, reading)
- Prioritize visual comfort: choose a view or filtered light. Compress zones so cooking and seating are adjacent. Use a lightweight groundcloth rather than a full sleeping area.
Brief overnight (one person)
- Give more space between cooking and sleeping zones. If you expect dew, elevate clothes or food on a rock or small hanging line. Check micro-wind to orient your sleeping door away from prevailing gusts.
Social stop (group of two to four)
- Arrange seats in a loose semicircle with a central cooking surface. Keep packs near the trail to preserve the central area. Consider multiple small comfort cues so everyone recognizes the shared space.
Troubleshooting
Problem: Uncomfortable ground despite clearing
- Solution: Layer. Add a folded foam pad, or create a stretcher using two poles and a tarp across them to distribute pressure. If you have no pad, shed your pack and use it under your torso for more even support.
Problem: Unexpected wind or temperature drop
- Solution: Reposition cooking and seating near a natural windbreak—rock, dense shrub, or topography. Use an extra layer as a wind curtain tied between low branches; turn the sleeping bag or pad so the head faces away from the wind.
Problem: Too noisy or busy a spot
- Solution: Respect the principle of separation. Move two to five meters away from the trail or water to a quieter niche. Slight changes in position often cut noise significantly because sound dissipates quickly with distance.
Problem: Little daylight left to set up
- Solution: Reduce the method to three essentials: confirm safe ground, place sleeping spot, and clear immediate debris. Add comfort cues in the morning. Keeping this minimal triage lets you rest sooner without compromising safety.
Over time, the 15-minute routine becomes a habit: you’ll start noticing which small choices most improve a stop for your style—one person’s priority might be a flat rock for a stove, another’s an open sky for stargazing. The value of the method is that it makes those priorities explicit and repeatable, so even brief outings feel intentional and restful.