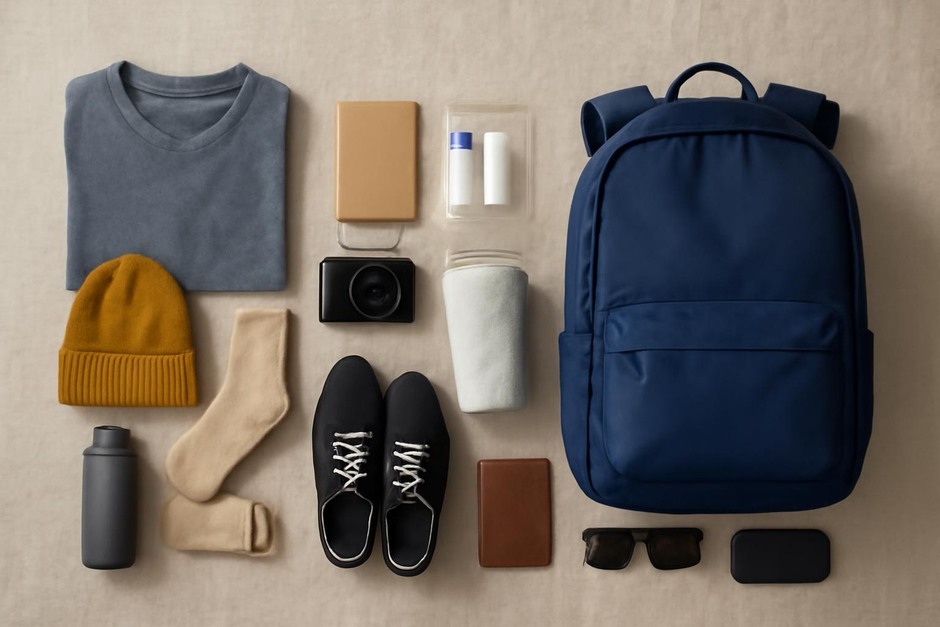
Packing for an overnight trip often comes down to a single question: follow a tested checklist every time, or adapt your kit to the conditions of each outing? Both approaches work; they simply prioritize different trade-offs. Below is a direct comparison of the two methods, illustrated with small, concrete examples, followed by guidance to help you choose the best approach for your next trip.
The Essentials-List Approach
The essentials-list approach is a fixed kit you carry on every overnight trip. The list is intentionally conservative: it covers common needs and provides margin for unexpected weather or delays. The principle is repeatability — you rarely forget something important because the list is always the same.
Typical essentials list (example)
- Shelter: lightweight tent or robust tarp
- Sleep system: 20–30°F sleeping bag or quilt + insulated sleeping pad
- Clothing: base layer, insulating midlayer, rain shell, spare socks
- Cooking & water: small canister stove, pot, lighter, water filter or treatment
- Navigation & light: headlamp, spare batteries, map/compass
- Safety & repair: basic first-aid, multi-tool, duct tape, cordage
- Food: two full meals + lightweight breakfast/snacks
Example weight profile: if your essentials kit averages 7–10 lb (3–4.5 kg) packed, you accept that baseline weight every trip for the reliability it provides.
Pros and cons
- Pros: fewer forgotten items, faster packing, consistent performance across trips.
- Cons: can be heavier than necessary for mild conditions; may feel inefficient if you rarely use parts of the kit.
The Scenario-Focused Approach
Scenario-focused packing tailors the kit to expected conditions: distance, weather forecast, campsite type, and known hazards. The guiding idea is fit-for-purpose — bring what you need, and no more.
Typical variations (examples)
- Warm summer, established campsite (10 mi hike): tarp or lightweight tent, 40–50°F quilt, small alcohol stove, minimal repair kit. Target pack weight: 4–6 lb (1.8–2.7 kg).
- Late-season mountain bivy: freestanding tent, 0–10°F sleeping bag, heavier insulated pad, stove with cold-weather fuel, more robust first-aid. Target pack weight: 10–14 lb (4.5–6.5 kg).
Pros and cons
- Pros: lighter packs when conditions allow, more efficient use of gear, more responsive to unique trip needs.
- Cons: requires accurate trip assessment and experience; increases risk of missing something when conditions change unexpectedly.
How to Choose Between Them
Choose the approach that matches your goals, experience, and the trip’s predictability. Use the questions below as a quick decision checklist.
- How well do you know the route? If it’s new or poorly documented, favor the essentials list. If you’ve done it before and understand shelter and resupply options, scenario-focused can save weight.
- How predictable is the weather? If forecasts are uncertain or volatile, the essentials list buys margin. Stable forecasts lean toward scenario adjustments.
- What is your tolerance for risk? If you prefer a strong safety margin or are responsible for others, keep the essentials. If you accept more exposure to shave ounces, tailor the kit.
- How much time do you have to plan and pack? Essentials simplify packing when time is short. Scenario-focused needs a little checklist work and verification of consumables (fuel, water sources).
- Are you carrying group gear? Shared responsibilities change the math. A group can share heavier items (tent, stove) so a scenario approach often yields the best communal outcome.
One practical middle path is a modular habit: maintain a compact core essentials kit (shelter, sleep system suited to a target season, headlamp, basic first-aid) and add or subtract a small set of modules based on scenario (cold-weather insulation, heavier stove, extra water treatment). That way you get repeatability and the ability to refine for specific trips.
Small experiment to try
Try both approaches on back-to-back weekends. For the first trip, use your full essentials kit. For the second, slim to a scenario-focused list based on the forecast and route. After both, note what you actually used and what felt unnecessary. Over a season, you’ll refine a personalized hybrid: the core you never omit and the modules you add only when appropriate.
Neither method is objectively better — each prioritizes a different value: certainty or optimization. The right choice depends on the trip and on how comfortable you are trading weight for margin. With a few small experiments you’ll find a rhythm that keeps overnight outings both safe and pleasantly light.